
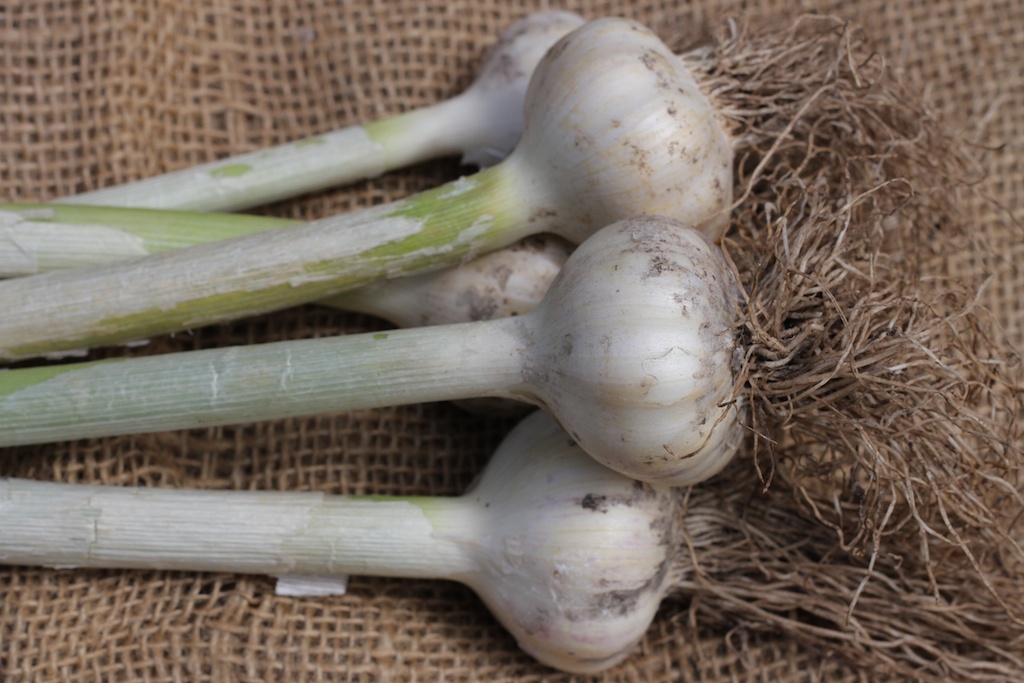
Freshly harvested white hardneck

Hang to dry in a shaded airy position
Garlic harvesting takes place from spring to early summer. As the weather warms up and days lengthen, bulbs reach their full size and the leaves start to die back. Once the bulbs are harvested and either before or after curing (drying) you might like to plait your bulbs into a braid.
Follow the directions below for a simple way to do this.
You will need: Scissors, a soft brush and strong string. If you have cured (dried) your garlic first then you will also need two old towels.
Divide your garlic into bunches of about 15 with big and smaller bulbs in each bunch. Trim the roots with the scissors, leaving only a few millimetres. Brush the bulbs to remove any excess dirt and pull off any loose pieces of the papery outer skin.
If your stems are still soft and flexible then you can just start plaiting, if they are dry and stiff, then you may need to wet them before you begin. To do this completely soak both the old towels in water. Lay one flat on a table and place the garlic stems on the towel with the bulbs just over the edge of the table. Cover with the second wet towel and leave to soak for about twenty minutes. The stems should now be damp and flexible.

Figure 1

Figure 2
Choose the three biggest bulbs and lie them on a flat surface with the right hand bulb (1) at the bottom, the left hand bulb (2) on top of this forming an X and the centre bulb (3) on top of both of these with the stem pointing straight up (see figure 1).
Take the stem of bulb 1 and wrap it over stems 2 and 3 (see figure 2) and then under both these stems so that it is back in its original position ( see figure 3). This is known as the starting knot and is essential to the stability of the plait. From here you add bulbs in a regular pattern, remembering to keep the bends tight and the bulbs snug against each other.

Figure 3

Figure 4

Figure 5
Select the next largest of the bulbs (4) and place it in the middle of the three bulbs just above bulb 3 with its stem adjacent to bulb 3’s stem (see figure 4). Move these two stems slightly to the right and lift stem 2 over the top so that this becomes the new centre stem (see figure 5).Take the next largest bulb (5) and place it to the right with its stem lined up with stem 2. These two are now the centre stems of the plait (see figure 6).

Figure 6

Figure 7

Figure 8
Take stem 1 and lift it over centre stems (2 and 5), so stem 1 becomes the centre. Select the next largest bulb (6) and place it to the left with its stem lining up in the centre with stem 1 (see figure 7). Take the lowest stems (3 and 4) and bend them over the top stems (1 and 6) so that 3 and 4 are now the centre stems (see figure 8). Continue adding bulbs in another two sets of three starting with the centre, then the right and then the left for each set. You can add more sets of three if you wish. Remember to always secure the new bulb with the group of lowest stems by bending these stems over the top and into the centre.
Finally place a good-looking small bulb in the middle of the plait, then continue plaiting the stems and leaves for another 15 centimetres or so. Bind the top tightly with string, leaving a loop to allow for hanging, and trim the remaining leaves. Plaited garlic can be used straight away or left hanging in a dry airy position out of direct sunlight for many months. They also make wonderful gifts.
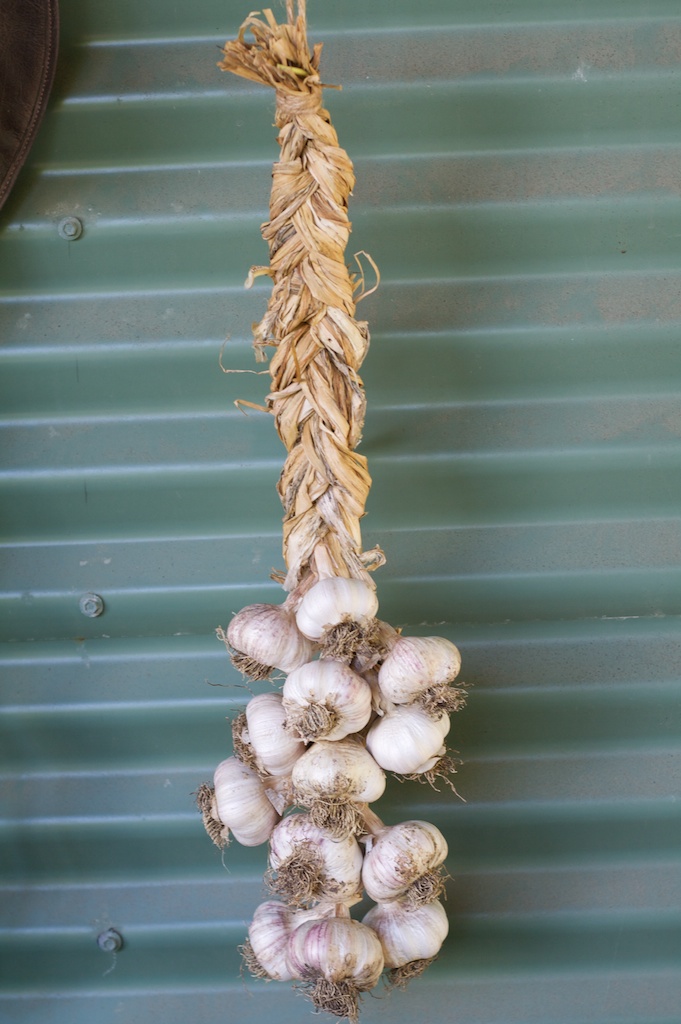
The finished plait